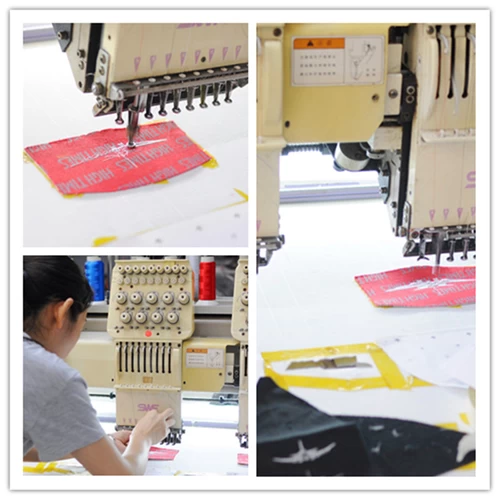
Hooping Tips for Commercial Embroidery of Caps
Claire
Aung Crown
2018-09-12 11:12:22
Most cap systems have a maximum sewing area of between 2” and 2 ½” tall. The closer your commercial embroidery machine approaches the outer limits, the more you run the risk of distortion.
Many hooping systems and cap frames will have a band to lock in the bill of the cap, allowing it to “float.” This floating may cause the fabric to push or pull stitches. When a cap is sewn from one side to the other, the fabric is slightly pushed in that direction. Pushed far enough, the fabric could begin to fold or “flag.” This effect is also known as “birdnesting.”
When the next portion or color is sewn on a flagged cap, there could be registration problems. This can be prevented by programming your digitizing software to sew the image from the inside out. This will evenly push the fabric.
Underlay stitches are also a way to avoid problems with flagging. Short stitches, placed in a lattice pattern, can be used to secure the cap to the backing, preventing shifting. This can be good for both caps and left pocket logos. Set up your system to sew the bottom line first, then stitch each line from the center out.

Always make sure the cap is hooped accurately since most commercial embroidery operators use a slight angle when sewing caps. Test the straightness of the hooping by placing a piece of masking tape on either side of the cap, before putting it in the hoop. The tape should be perfectly straight and align with the bottom edge of the cap, running about 1 ½” to 2” from the edge.
Then hoop the cap as usual by attaching it to the machine. Slowly rotate it from left to right to make sure the presser foot will draw a straight line across the tape. If when you move the presser foot right-to-left and the tape is not aligned, take some time to practice hooping the sides to get it entirely straight. If necessary, you can adjust the angle of the side designs on the machine.
You can also use fast frames and sticky backing. Regular tearaway backing is also acceptable to use.


